
Map screen documentation
Conceptual and configuration guidance

Native Mobile Components and variables
Figma library with components for designing Native Mobile.
Overview
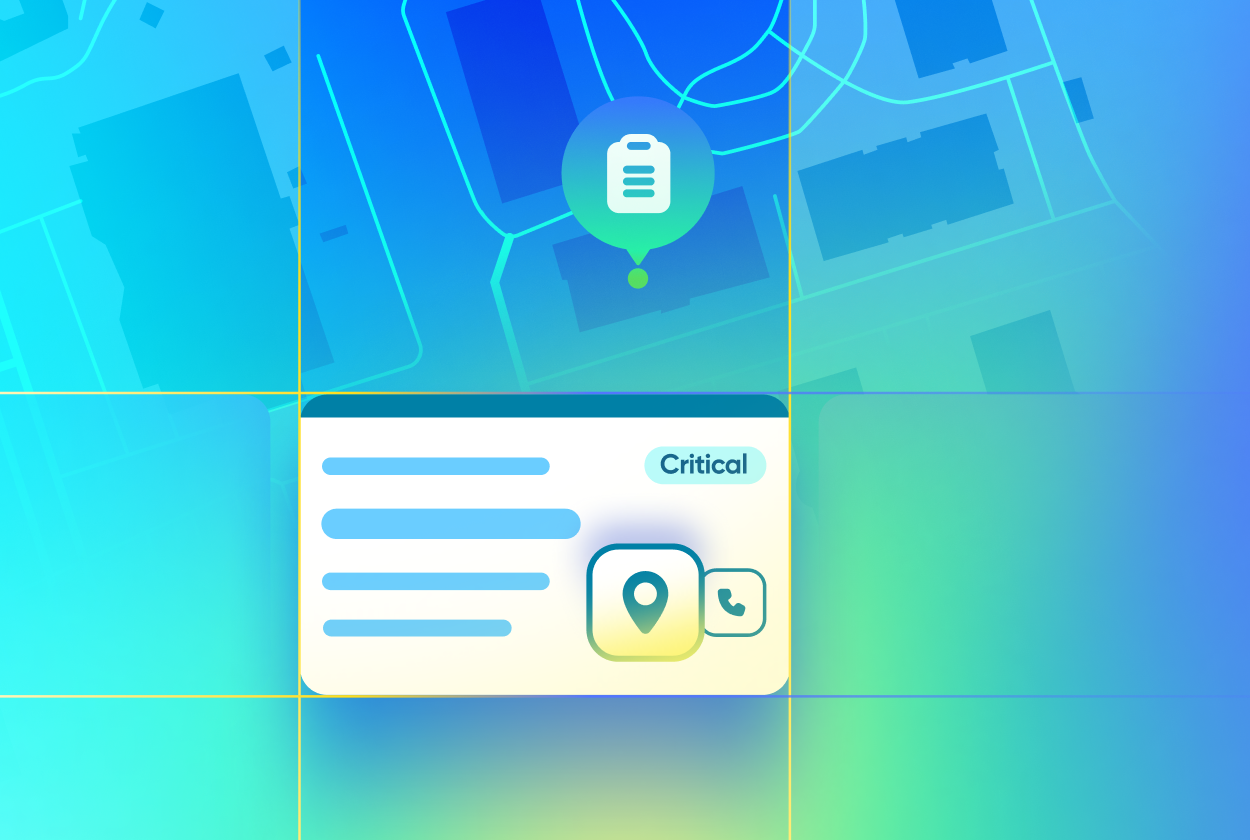
Use map screens so that your users can see location-based information on a map from their mobile app, such as daily routes or facility locations. The map screen includes a card list to display additional information for records shown as pins on the map.
- For a record to be represented with a pin on the map interface, the record must contain a field that includes a location.
- For maps presenting data from more than one table, consider defining a different pin color for each table where the data is extracted.
- The map’s initial zoom-in is an overview display that includes all the points of interest including the user’s location. To open the map with maximum zoom-in, limit the data item of the map to include only points that are relevant to the user, for the upcoming period. For example, in the case of an agent’s tasks, limit the period for this current week and the week after.
- The map screen has two views upon the map’s initial load, a list view and a map view (default). Change the map default view to list view when you need to quickly review all your tasks and then switch to the map view to see their geographical location. For example, first view all your team members that are currently on shift and then check their location.
- When your use case includes the need to travel to a location, enrich the user experience by adding action buttons to the cards to help the user reach their destination. Example action buttons could be, “Navigate to the location” / “Call a person.”
- Add sorting to the data item so the order of the cards will make sense for the user’s journey when using the map.

Access control
You can restrict access to the Map screen for specific users by assigning User Roles. Learn more.