Anatomy
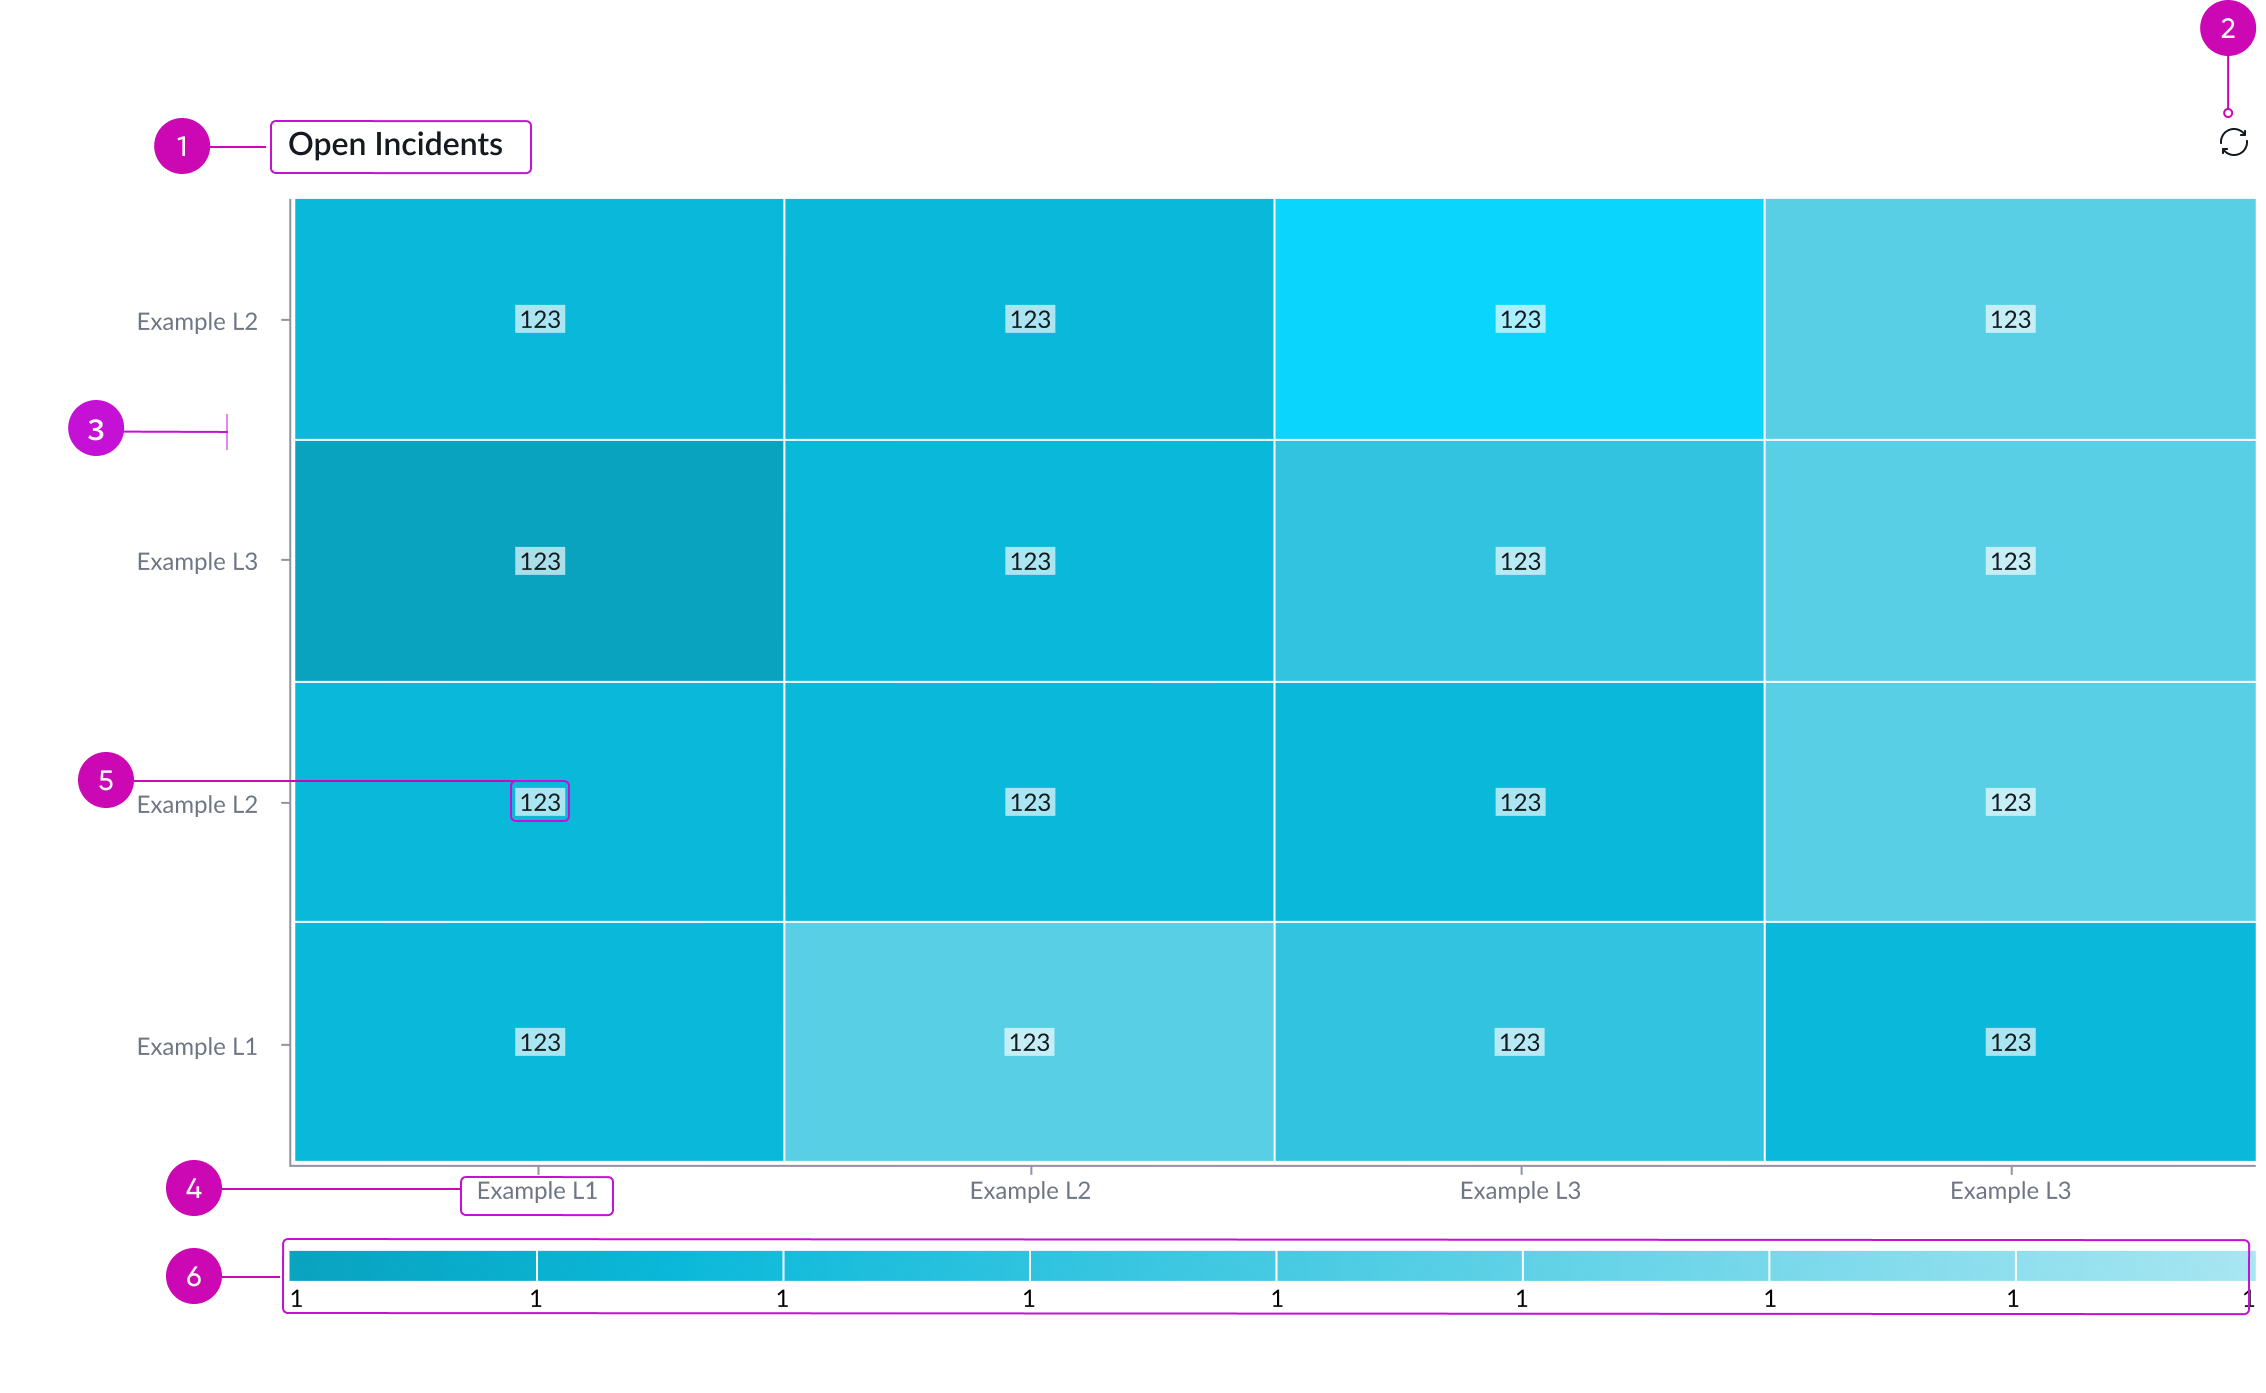
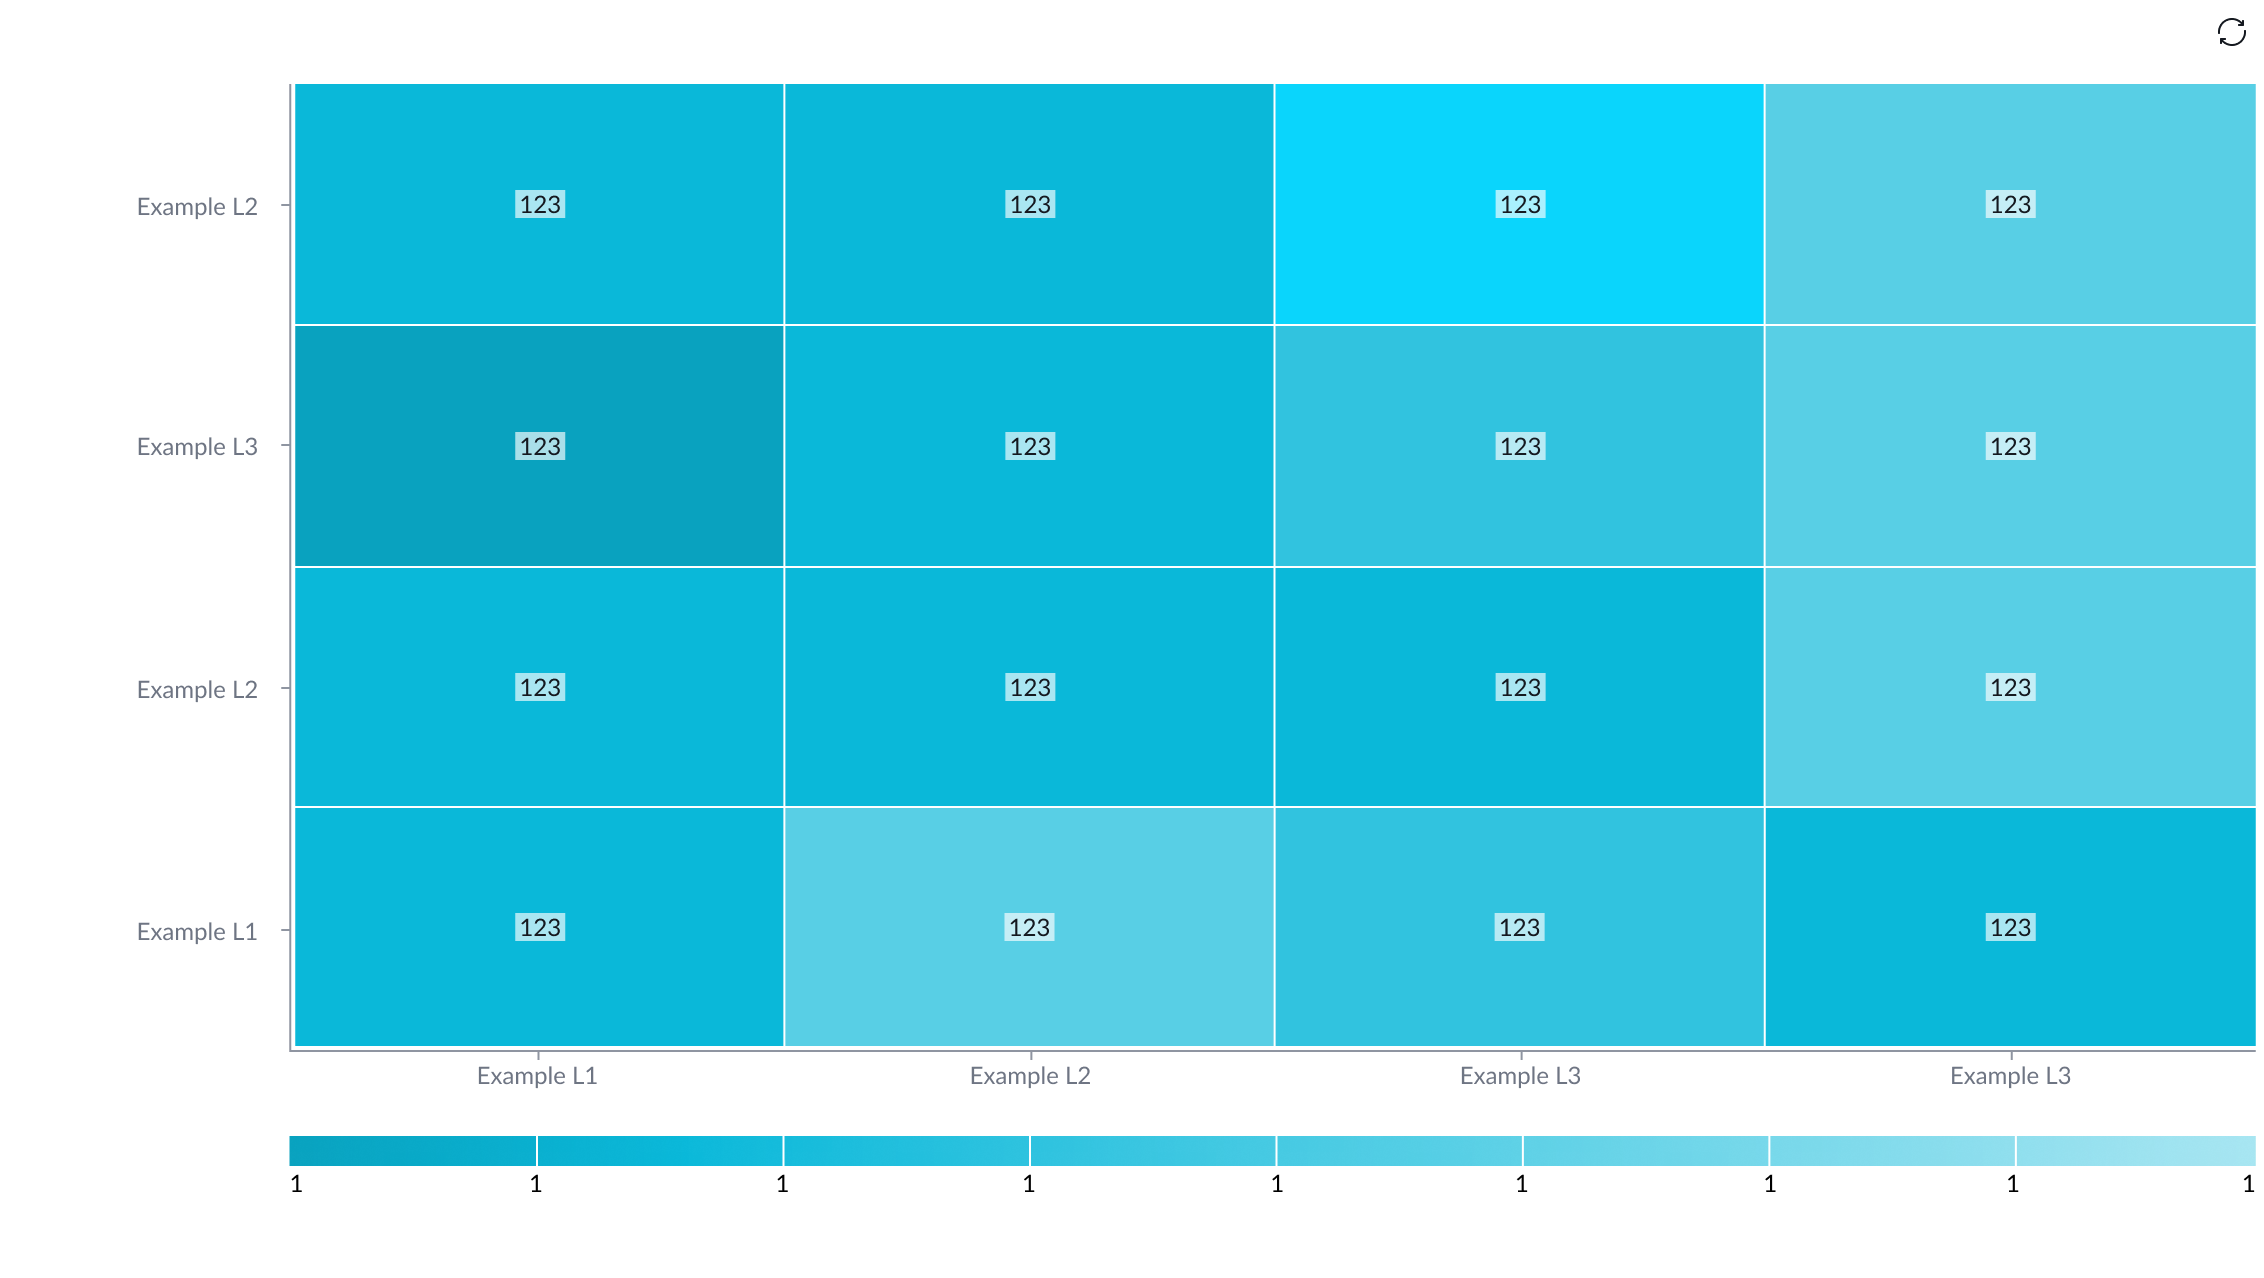
- Chart title (Optional): Title of table which can be wrapped or hidden
- Refresh button: Manually refreshes data
- Y axis label: Displays the grouped by row names
- X axis label: Displays the grouped by column names
- Data value: Numerical or logical value that determines the cell color based on a given color palette
- Legend: Shows the values for each color in the chart
Subcomponents
See the usage guidelines for button iconic.
See the usage guidelines for heading.
See the usage guidelines for text link.
See the usage guidelines for loader.
Usage
Use a heatmap to present data as a two-dimensional visual matrix, where values are encoded in colors, delivering a convenient, insightful view of information. The heatmap is represented in a data table with rows and columns denoting sets of categories. Each cell in the table contains a numerical or logical value that determines the cell color based on a given color palette.
Configurations
Learn how to customize heatmap by configuring the available properties.
Data source
You can select between different data sources for your visualization: system data tables and preconfigured Performance Analytics indicators. If you are changing your data source, the option list provides suggestions based on previous selections and items that match your search.
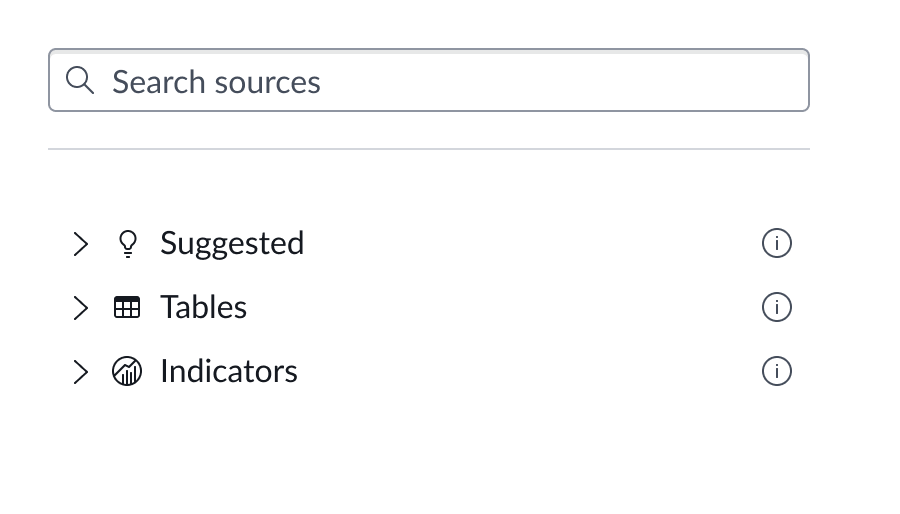
Tables
You can select any table from the system to use in your visualization and filter that data. When you apply a table as the data source, a preview list appears showing all available records in that table.
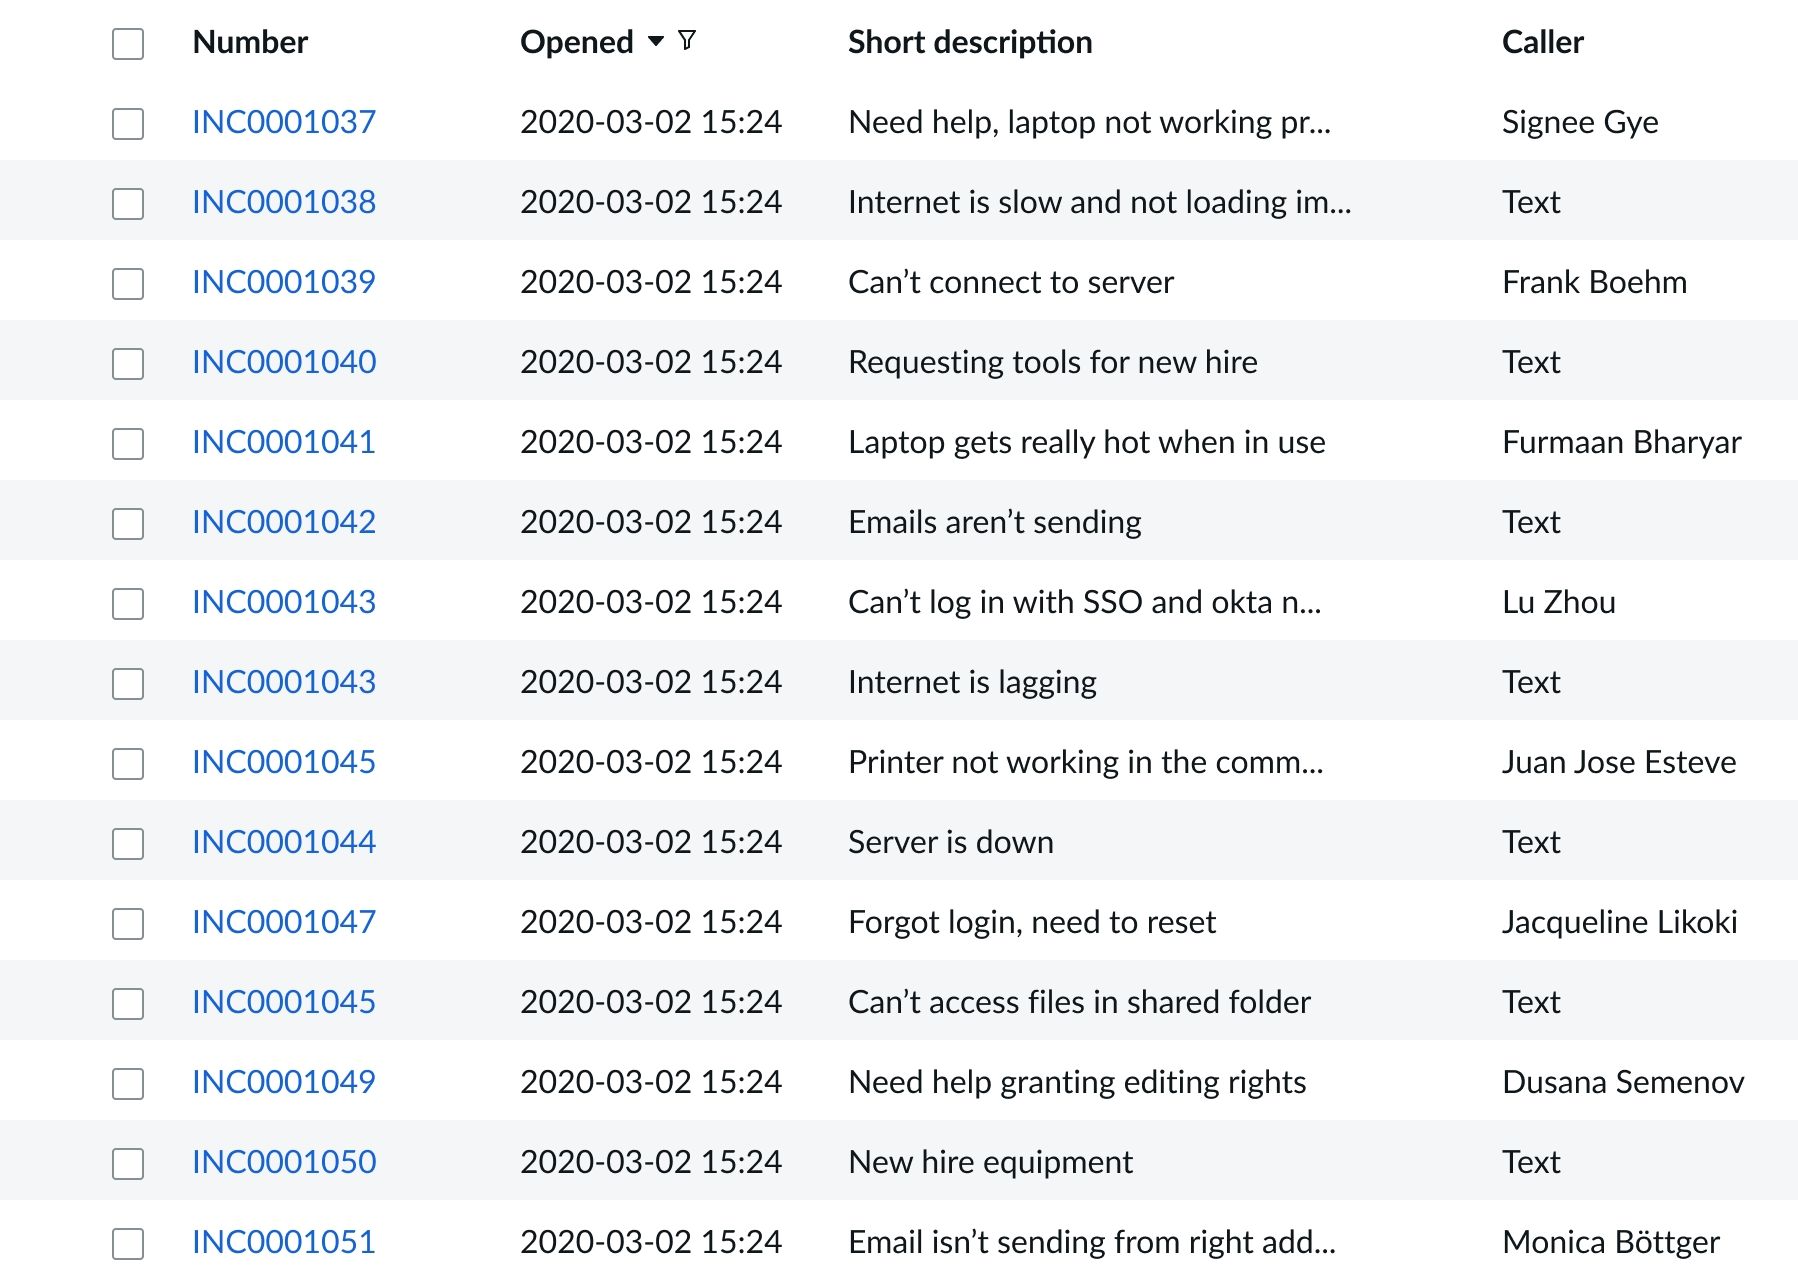
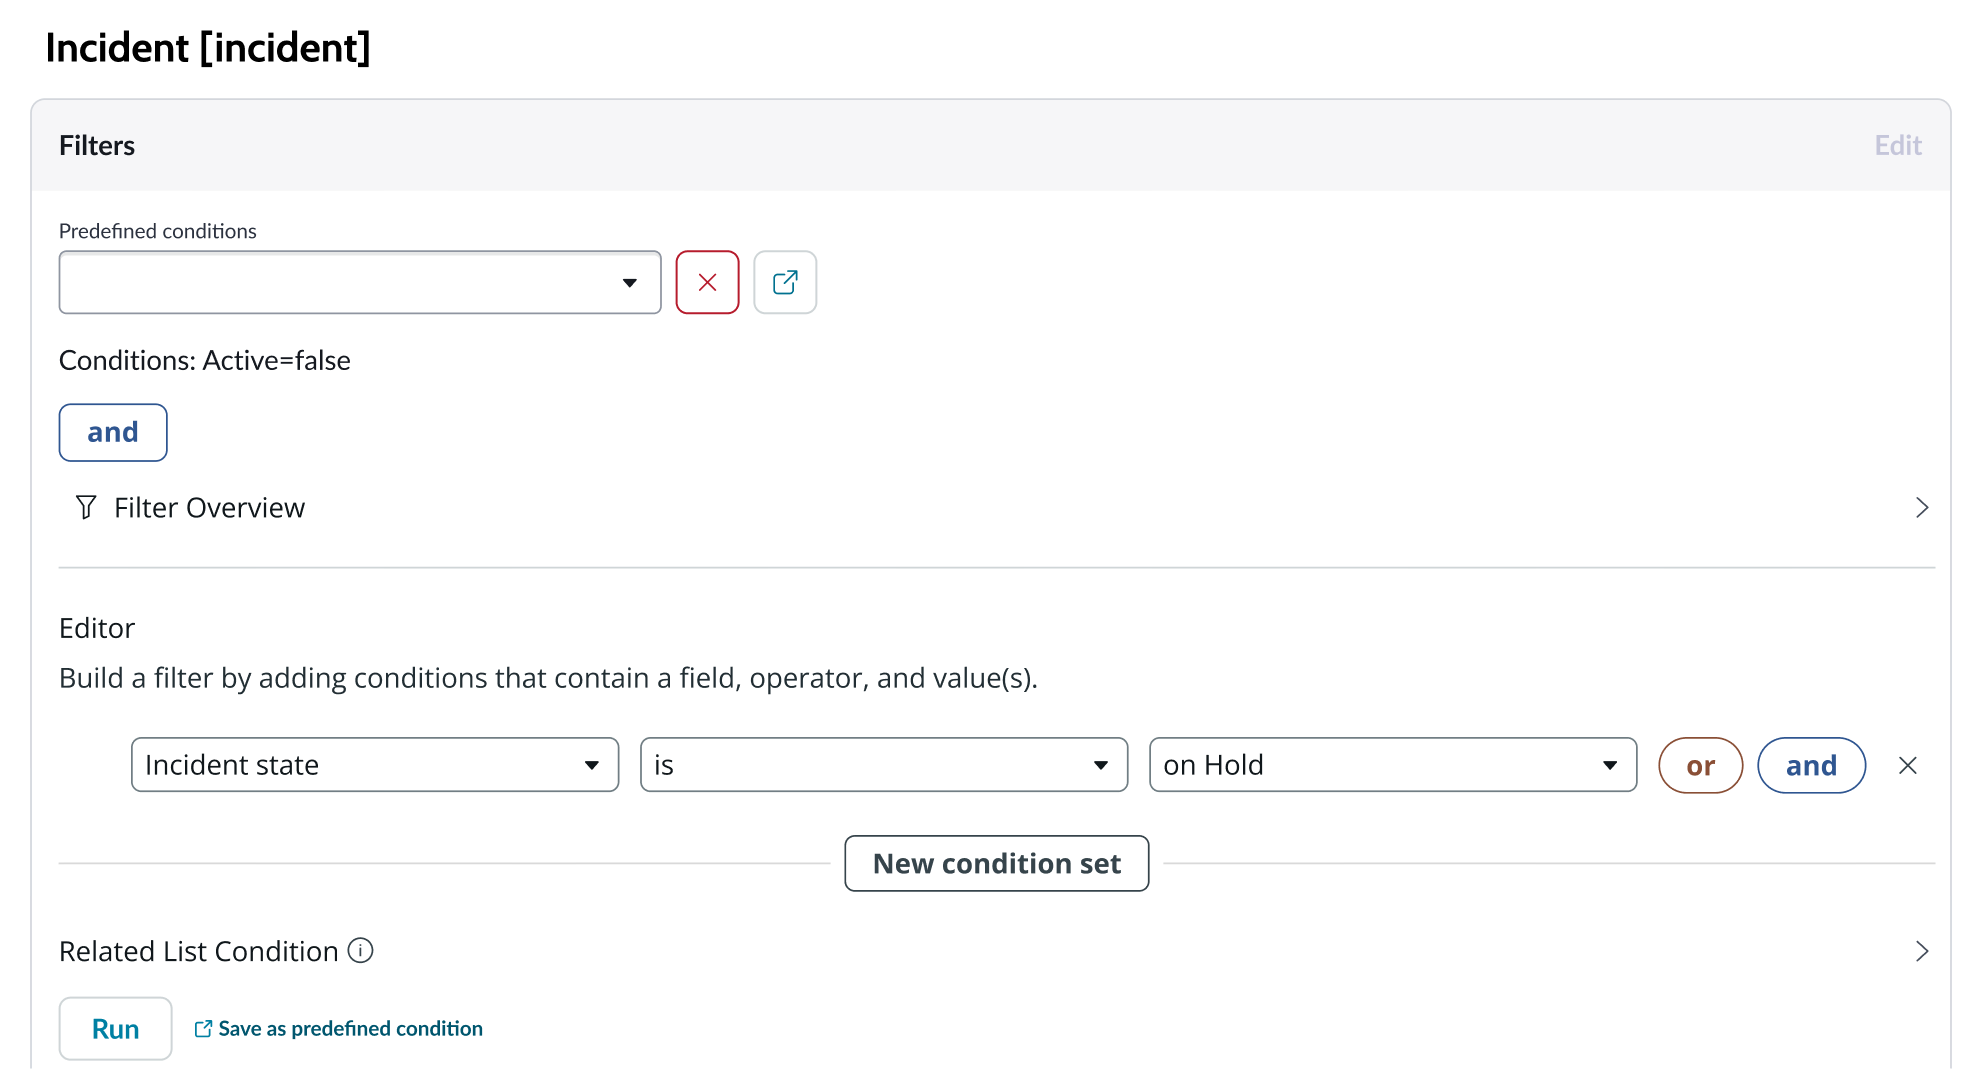
A condition builder above the list enables you to set filter conditions on the data before using it in your visualization. This is useful for limiting the data shown in the chart to only the data you need.
Indicators
Indicators are preconfigured business metrics that assess performance across attributes such as cost, quality, technical risk, investments, user satisfaction, and business value. Indicators are configured in the Performance Analytics application and reflect common measurements that users need. If breakdowns are defined for an indicator, you can apply filter conditions on those values.
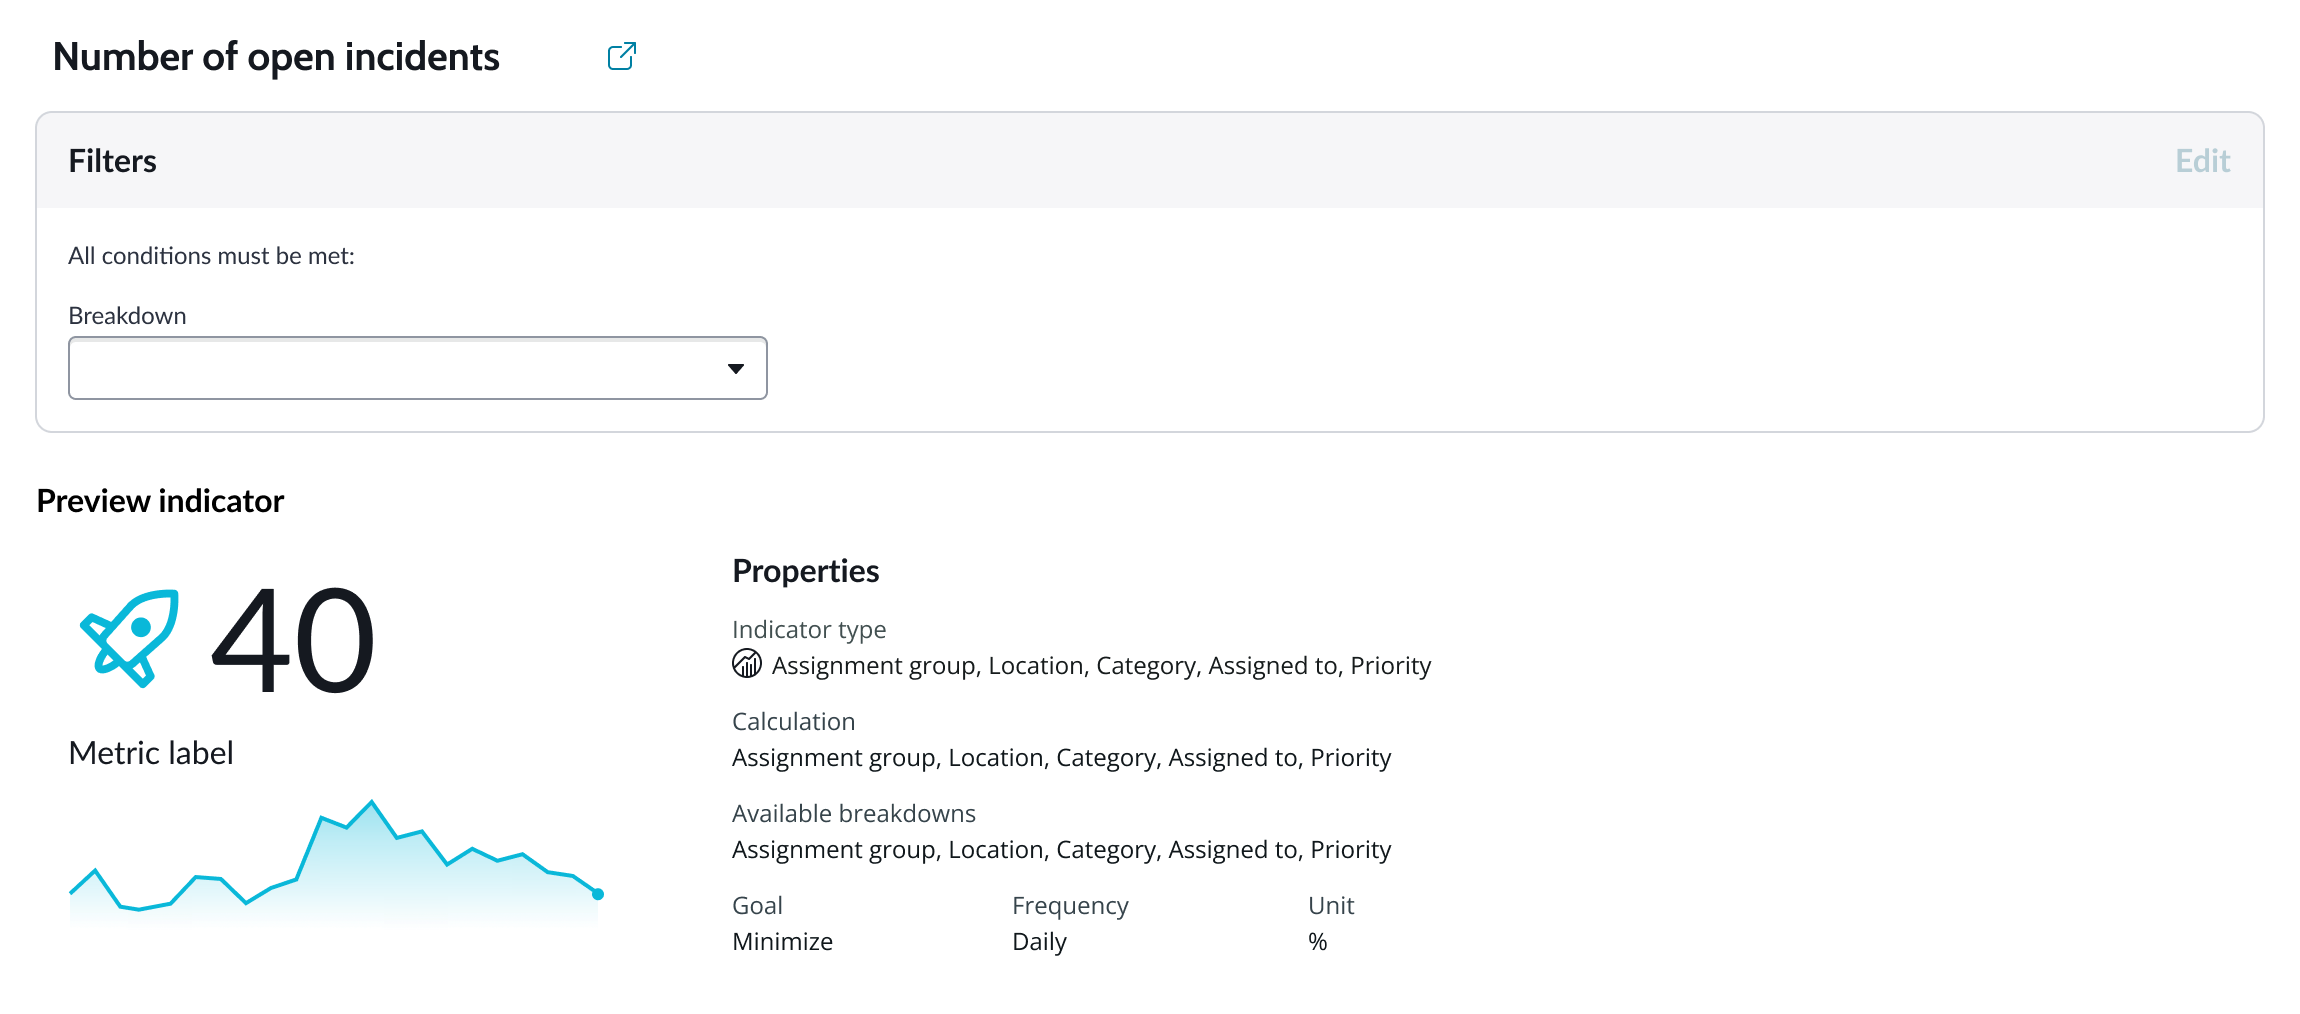
Data properties
Use the data properties to select and organize the data you want your users to see from the source. Select the chevron icon to expand a section and display the properties in each category.
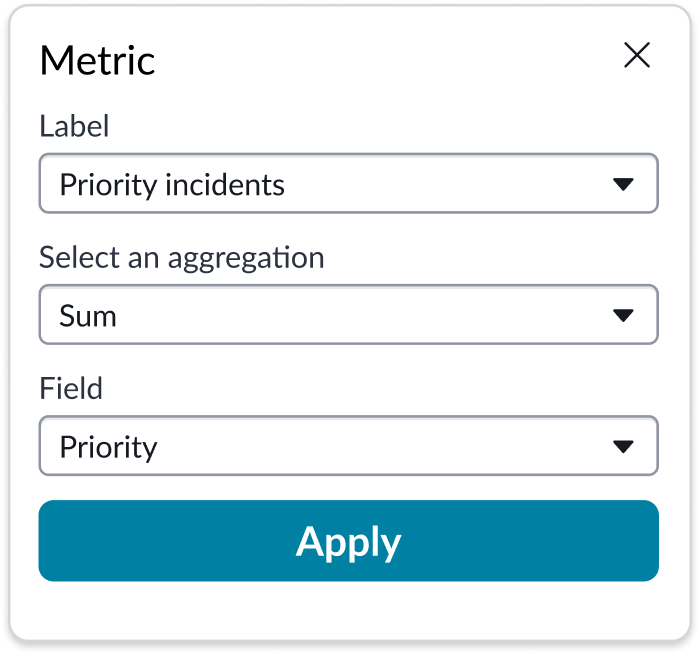
Metric selection
Select the specific data from the data source to display in the data heatmap and the label that identifies it. Select an aggregation type from the dropdown list. You can select a specific field from the data source table to display. If you leave the field empty, all fields are used, depending on any filtering conditions you applied when you selected the data source.
Header and border
The component header displays in the top left and contains the title and a description that appears when the user hovers over the information icon. You create the header and then show or hide it with the controls provided. By default, the header is configured to show, but the content is empty. You can also show or hide a bordering box around the chart.
Header background color
By default, the color of the header background is neutral-0 (white). You can specify a different color (including a custom color) for the background.
Select a color for the visualization header background that aligns with your dashboard theme, branding, or design preferences. The color you choose applies only to the visualization header background.
For better accessibility, make sure a good color contrast exists between the header background and title text. The minimum contrast requirement for normal text is 4.5:1, and for large text is 3:1. To verify, check the contrast ratio in the color picker.
Note: Theming is not supported when you select a custom color.
Chart title
By default, the chart title is blank, but you can add a title. When you add a title for your chart, you’re able to customize the color and make it wrap.
Title color
By default, the title text is neutral-21 (black). You can select a different color (including a custom color) for the title text.
You should select a color for the chart title that aligns with your dashboard theme, branding, or design preferences. The color you choose applies only to the chart title.
For better accessibility, make sure a good color contrast exists between the header background and title text. The minimum contrast requirement for normal text is 4.5:1, and for large text is 3:1. To verify, check the contrast ratio in the color picker.
Note: Theming is not supported when you select a custom color.
Grouping data
To build the heatmap, you select how you want the data broken down and grouped. As you add the grouping column and row elements, the grouping happens as the heatmap is built.
Sort
You can enable a sorting feature that orders the data columns by name or by value, in ascending or descending order. Sorting is available for both data source types; table and indicator.
Data updates
Configure filter conditions and enable data drilldown from data points on the heatmap. You can configure your heatmap to update on a defined refresh interval - measured in minutes.
Filters
You can configure heatmap to provide individual chart filters and allow a chart to use the filters set on that workspace page. Filters set on the data source always run on the component. The “Follow filter” property, which is set to “true” by default, applies any filters set on the workspace page in addition to those set on the data source. Setting the “Follow filter” option to “false” prevents any filter input from the workspace page.
Data drilldown
You can configure heatmap to enable users to drill down into data directly from a chart by clicking any data point. This enables users to view data such as records and record lists from data tables or KPI data from indicators.
Presentation properties
The presentation properties control the physical appearance of the chart. Use these properties to control how your users consume the data. Select the chevron icon to expand the section and display the properties in each category.
No value display format
By default, when the metric value is set to “Count,” you can choose to show zero (0) when there’s no value in the selected dataset or configurations.
Data label
You can hide the heatmap chart labels that are shown by default.
Legend
The legend is hidden by default, but you can use the “Show legend” toggle to enable it. If you choose to show the legend, it appears below the heatmap chart. You can change the location to above, below, to the right, or to the left of the chart.
Colors
By default, the theme based colors (a range of blues) are applied to the background in the heatmap chart. You can set the color type to “Color range” and use the controls to set the “Low color value” and and “High color value.”
Design recommendations
Learn how to apply heatmap in your design.
Alignment and positioning
Heatmap is always centered within the container and retains a fixed height/width ratio. It can’t be manually adjusted.
Behavior
Learn how heatmap behaves when the display changes or a user interacts with the component.
Chart positioning
The height and width of the chart is responsive to the data visualization container size.
Responsive behaviors
Heatmap is responsive to the width and height of the container.
Interactions
When the enable drilldown property is active, users can select data points in a pivot table to open individual records. You can deactivate this property and use the UI Builder “Events” tab to set the redirections on click to any other page.
Hover
In heatmap, when the user places their pointer over a cell the color of the cell brightens.
Usability
Heatmap complies with all internationalization and accessibility requirements.
Internationalization
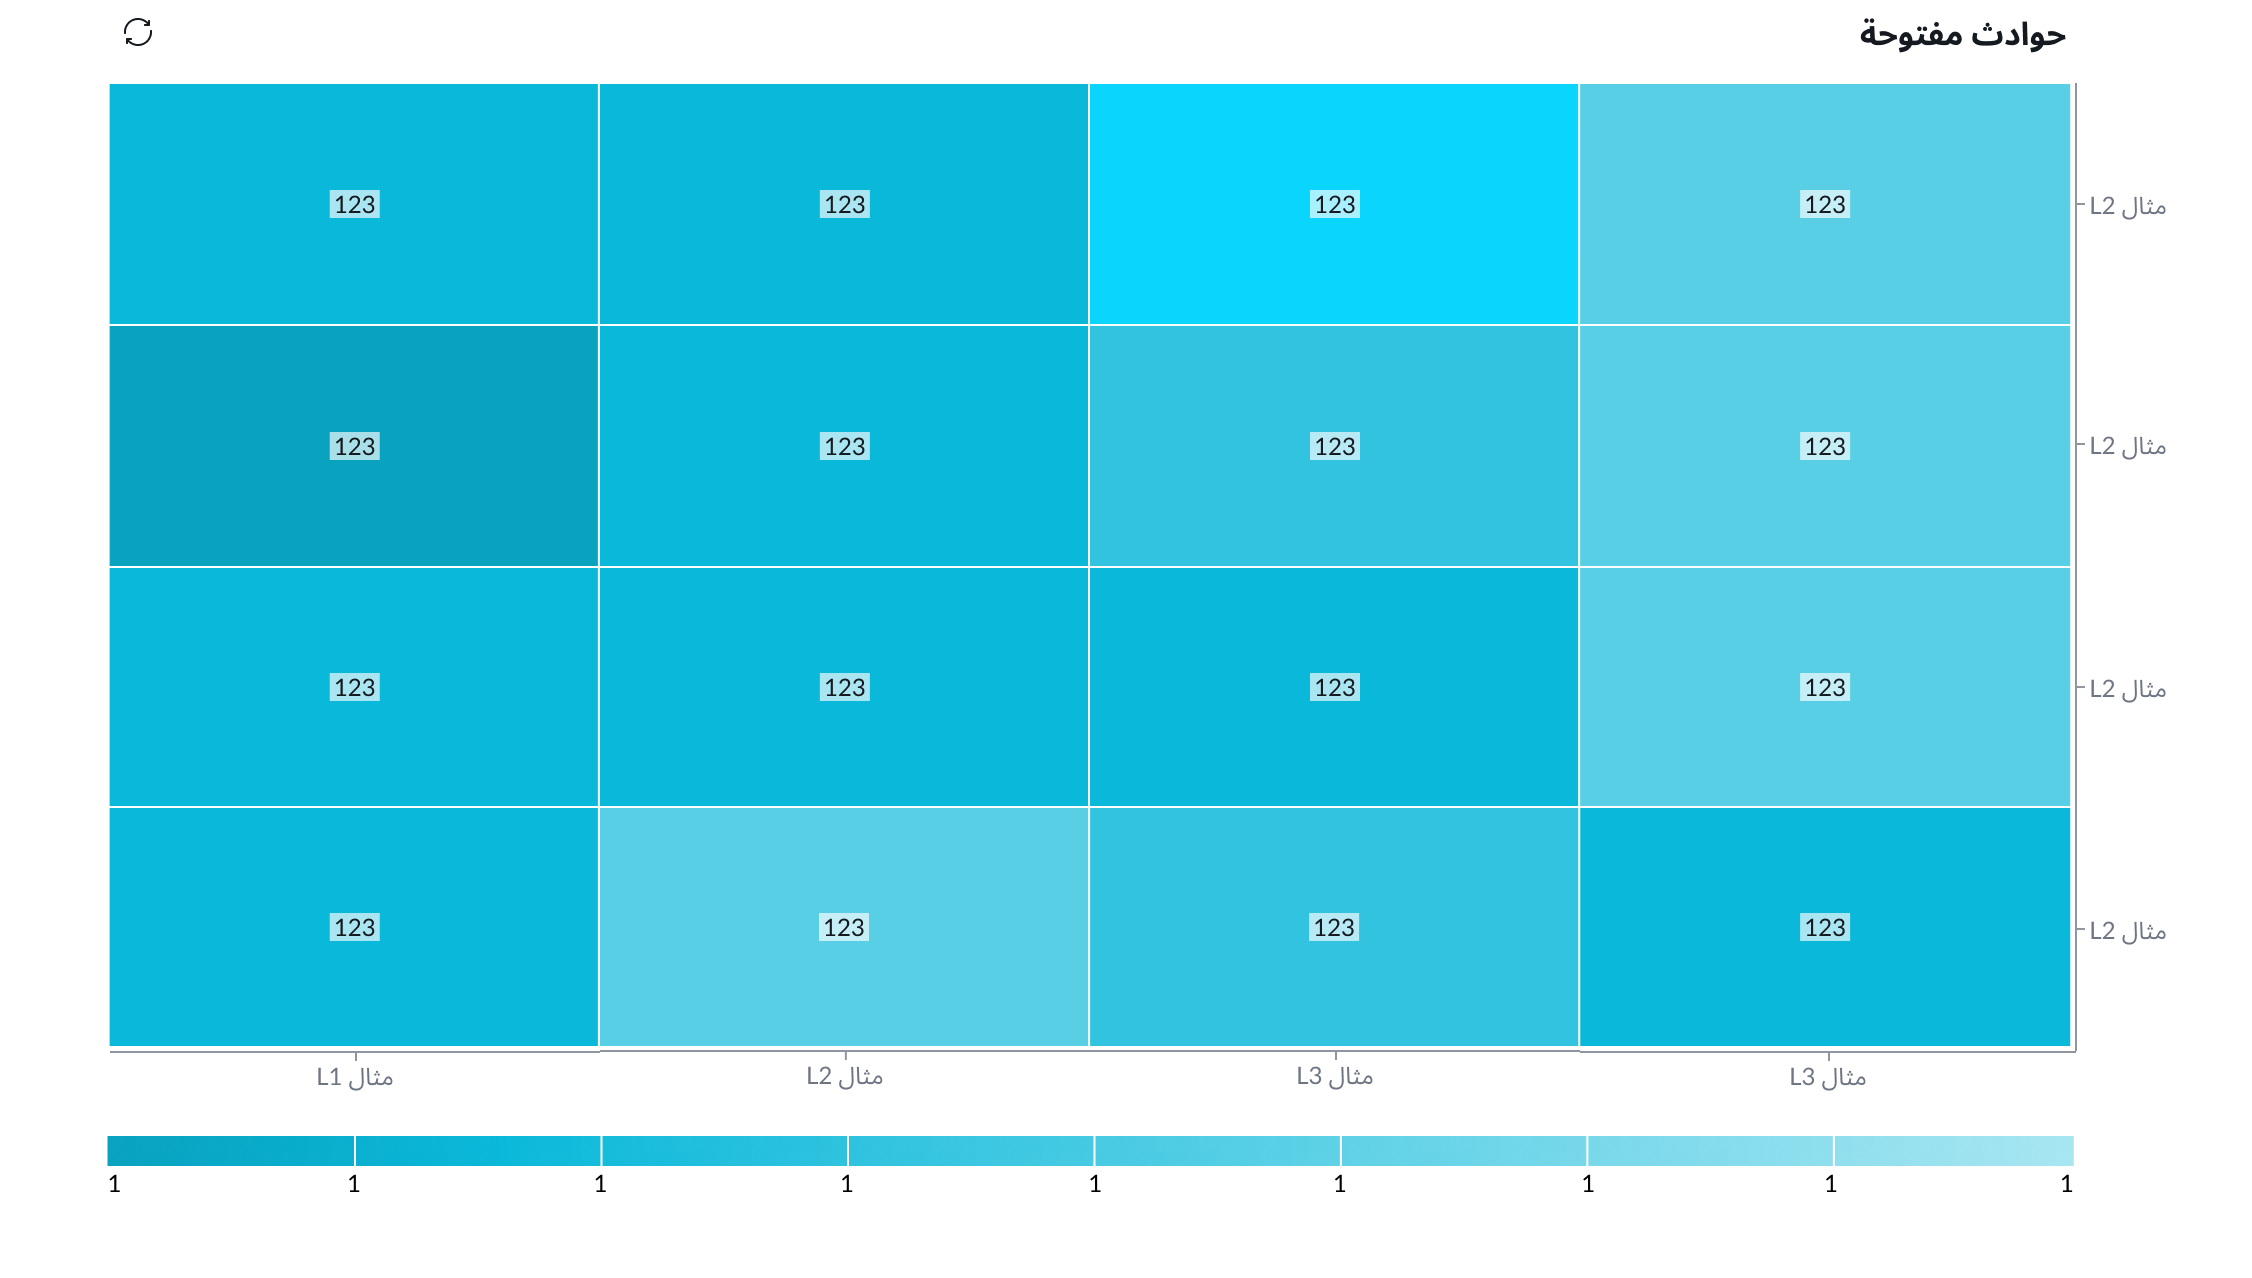
When this component is used in a platform configured for a right-to-left (RTL) language, all elements flip and the text aligns to the right.
Accessibility
Learn how to access the actionable elements of heatmap through keyboard interactions and screen readers.
Heatmap tab order
Keyboard interactions
You can access the actionable elements of heatmap with these keyboard keys:
- Tab: Moves to one of the cell in heatmap
- Enter or space bar: Triggers an action associated with an interactive element when in focus, such as refreshing the data or triggering chevrons to open and close.
- Arrow right, arrow left: Moves left to right on each cell
- Arrow up, arrow down: Moves up and down on each cell
Screen readers
When you apply ARIA labels to a component, screen readers announce the controls and content of pivot table in the prescribed tab order.


